🙂 Learn Teach Repeat 🙃

Category: Free Inquiry

This is the category to apply to your Free Inquiry posts.

Week 10-Final Reflection

I have enjoyed learning and documenting how to embroider using the tools and resources learnt in class. However, I wish I had had more time to pursue more ambitious projects. In the future, I would like to learn stitches for lettering.

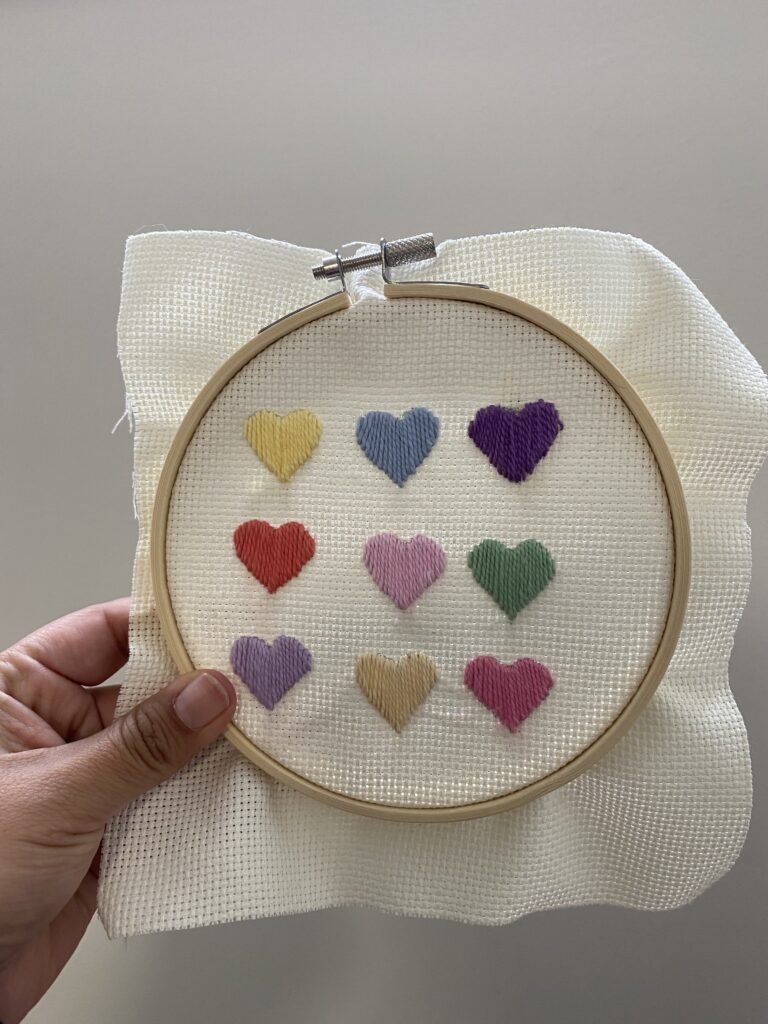
I liked all my projects, but my favourites are the hearts I did for Valentine’s Day and the embroidery card. My least favourite, the socks. I think the flowers do not show that well, and the petals are not proportional.
In some way, my inquiry was a representation of online learning. I learnt everything via YouTube. I was surprised by the number of embroidery tutorials available online, which makes embroidery accessible to everyone. The YouTube catalog is immense and you can learn anything using it.

This an example of one of many embroidey tutorials

Another aspect I liked about my inquiry is that it was not expensive.  The material I bought at the beginning of my inquiry lasted till week 10; I still have material to keep practicing. I also liked that the projects did not take more than 2 hours per week, which was great because I had more assignments to complete.

How will I use embroidery in the future? I think I would like to make Christmas cards, and I would like to try making a notebook cover. As I mentioned before, I would like to learn how to embroider letters, or quotes. As my project progressed, I realize that in the future I could use some of these mini projects in my classroom (Christmas’s or Mother’s Day crafts) or, as Kasey mentioned once, I could also use this for home economics lessons.

I imagine that using a blog to document an inquiry could be appealing for students, especially to those in intermediate grades. I think they would like to take pictures, organize, and personalized their blogs to express their ideas and personalities. The blog also helps teachers assessng and collecting evidence. A blog is useful for students to keep track of their educational/personal growth during the length of the course. 

Overall, this inquiry has inspired me to learn new things and to be persistent, even though, things look overwhelming at the beggining. You only need practice, patience, and dedication. Additionally, I have reflected on the accessibility that technology creates in our life, and what an excellent educational tool can be if used wisely.

Thank you for being part of my inquiry,

R.

I embroidered my sweatshirt!

In today’s post, I will show you how I embroidered my sweatshirt. Since I bought this sweatshirt (about a year ago), I wanted it to be a DIY project. My idea was to add fun patches, but of course, it never happened. So today, I will make a mini DIY project.

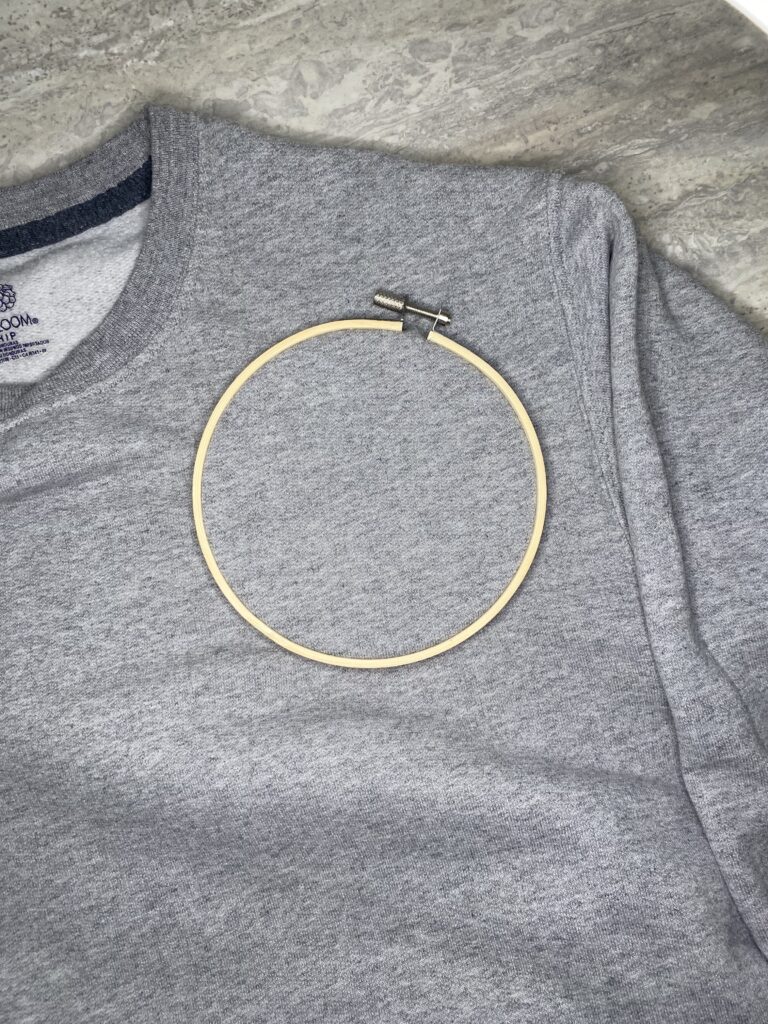
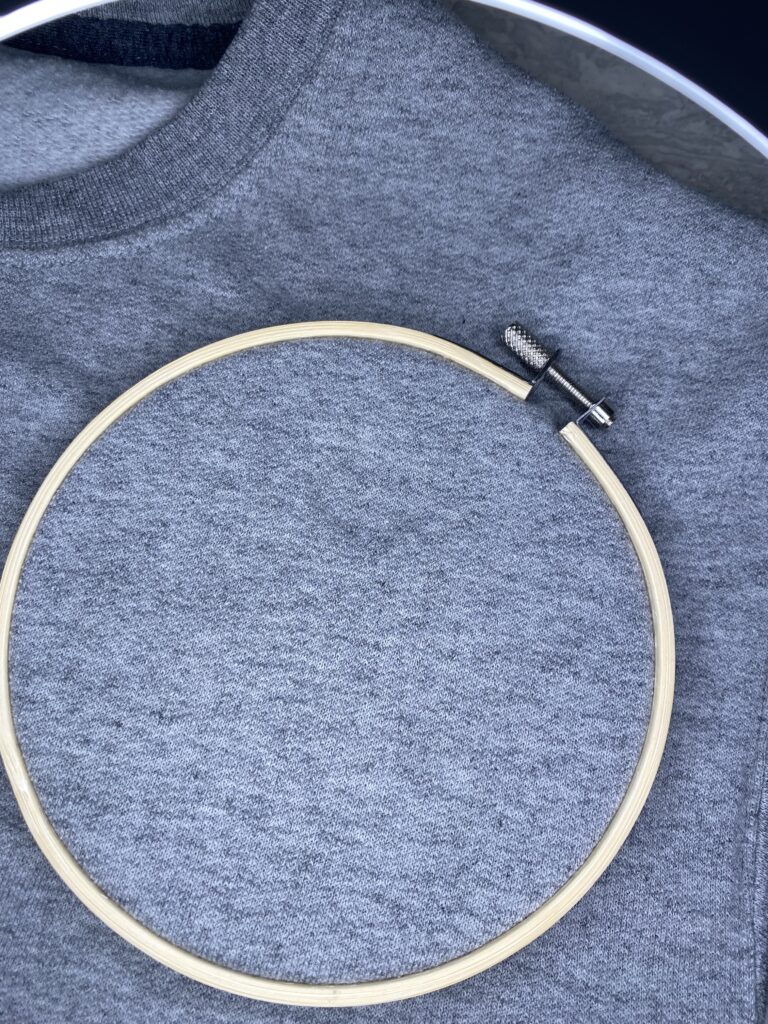
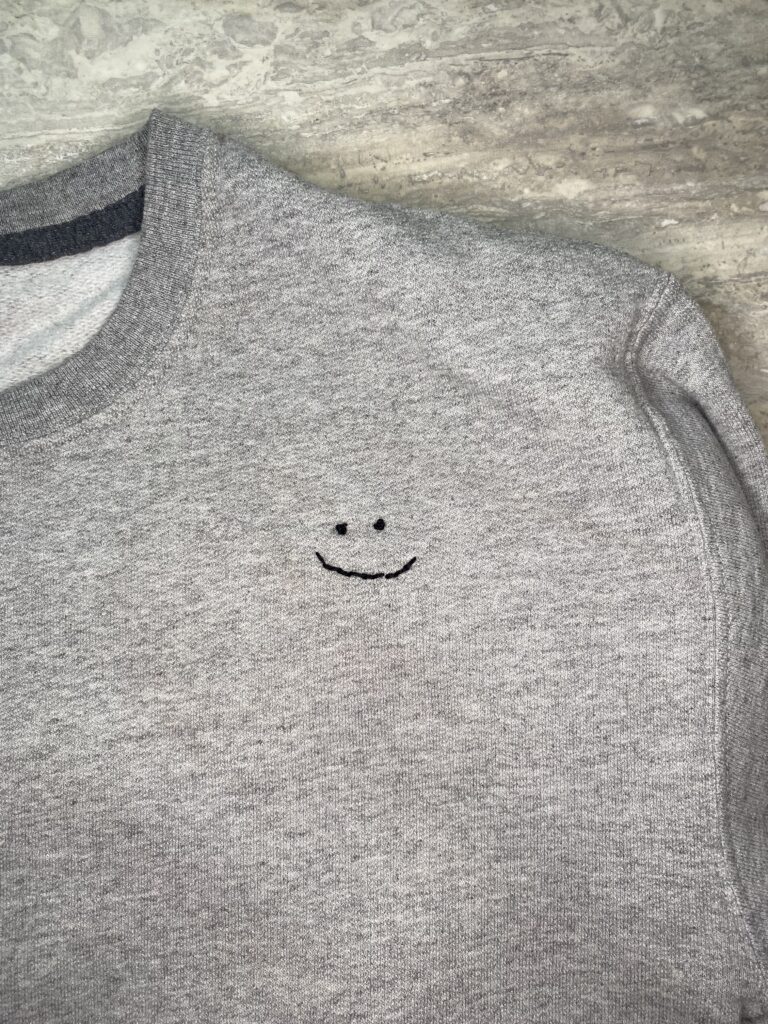
I did not follow any tutorial because I am just making a smiley face. The process was straightforward. I used the embroidery hoop to secure the area I would work on, then I traced the smiley face, and I embroidered it using black embroidery floss.

It took me only 15 mins!!! I like how it looks and I have looked for more inspiration. I love this one :

I hope to learn how to embroider letters and keep adding to my sweatshirt. I had enjoyed this project, and I am looking forward to wearing my ‘new’ sweatshirt.

I embroidered my socks

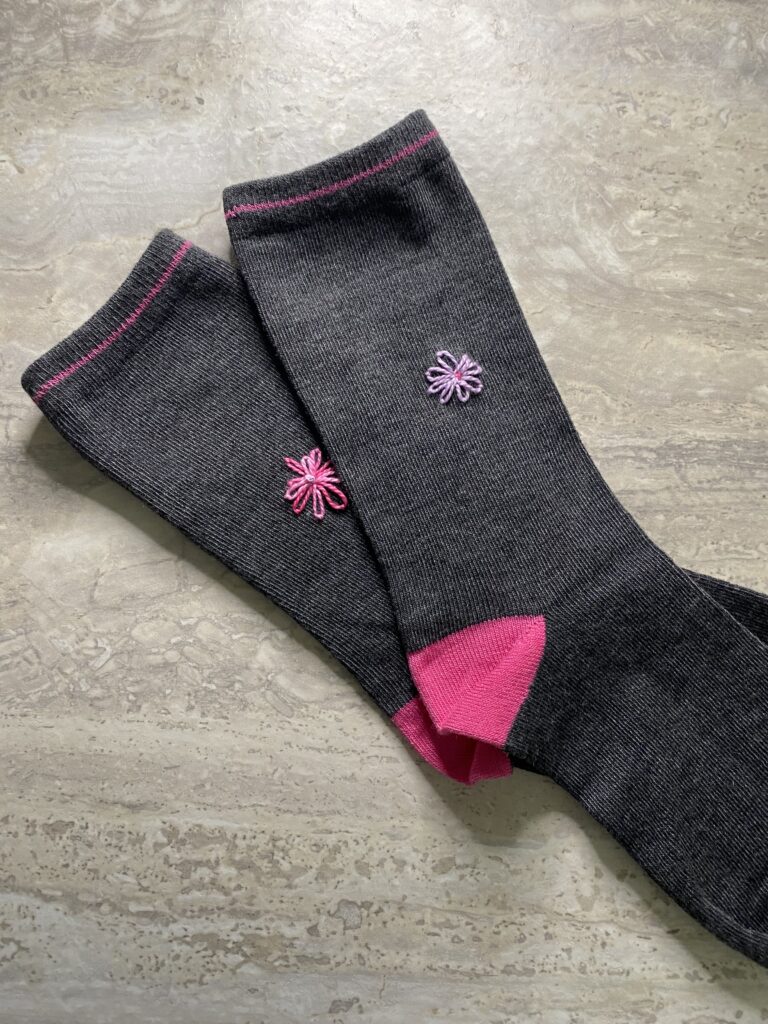
This week, I decided not to follow a tutorial, but to try something that I have seen before. I have decided to embroider something on a pair of socks. My idea was to embroider a heart on white socks, but I couldn’t find plain white crew socks. So, I will use these socks that I found at the dollar store:

As I mentioned, my idea was to embroider a heart, but then I remembered spring is coming. Therefore, I decided to practice the lazy daisy stitch from my first post. The lazy stitch is quite simple to make, I was impressed that it took me 20 mins to finish this project.

I think they don’t look bad, but I still need more practice. As I was writing this post, I checked on Etsy for handmade embroidery socks. I found that they cost $17, of course, they have a prettier design but 17$! wow! Maybe this project will be the beginning of my business… Just kidding 😜

P.S. I hope you are enjoying the cherry blossoms around town 🌸

Embroidered Cards

Inspired by last week’s post and trying to use embroidery in a more purposeful way, I found the idea of making these embroidered cards.

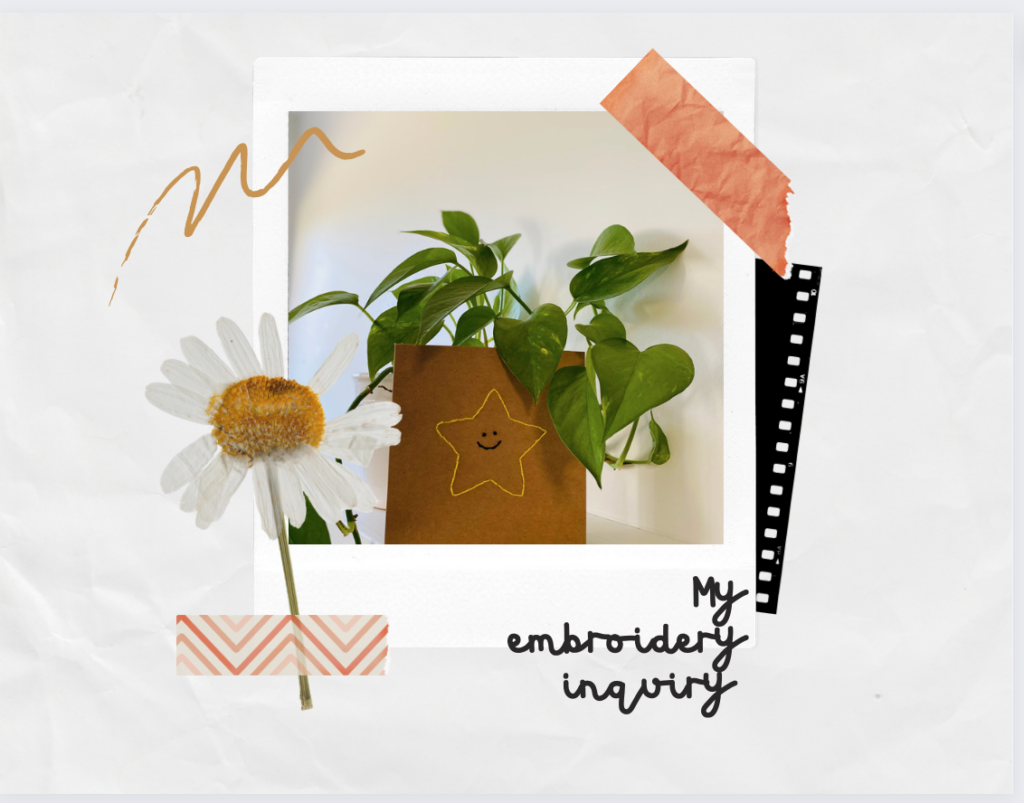
As I had some old cards from previous crafts, I decided to give it a try. The project took me approximately 1 hour. Here are the instructions I followed:

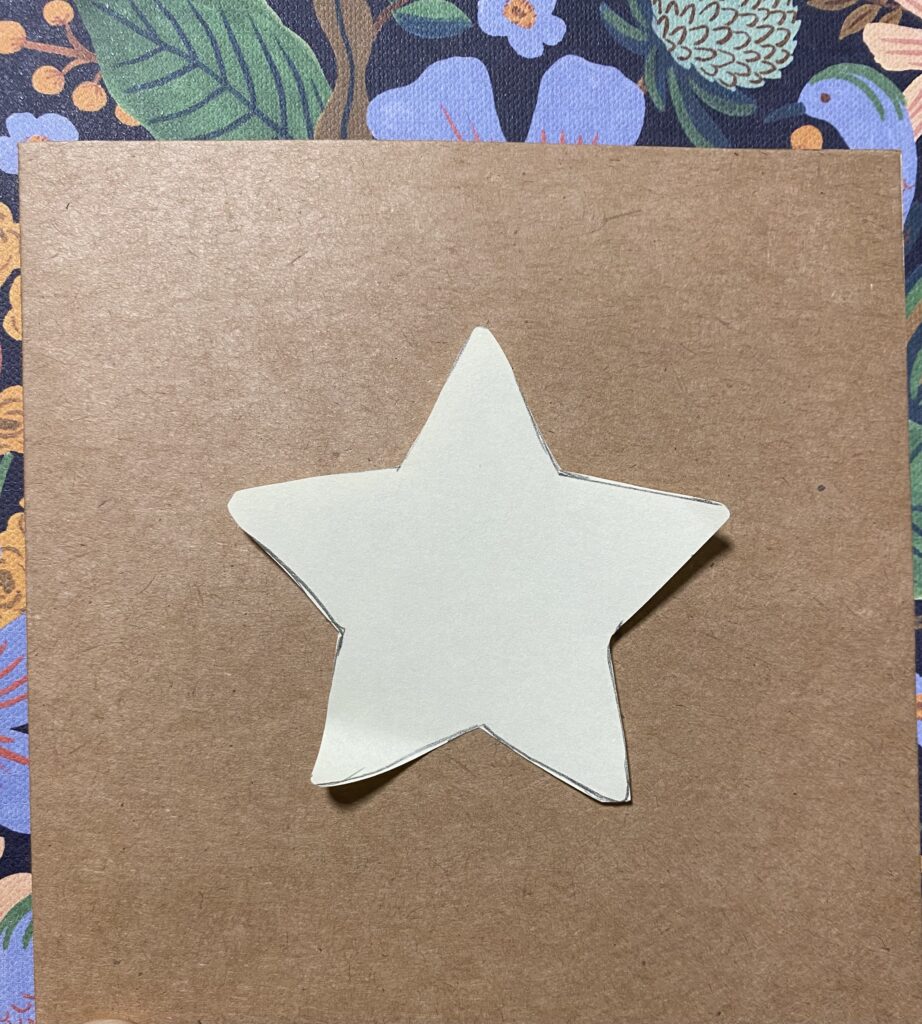
1) I chose the design ⭐️

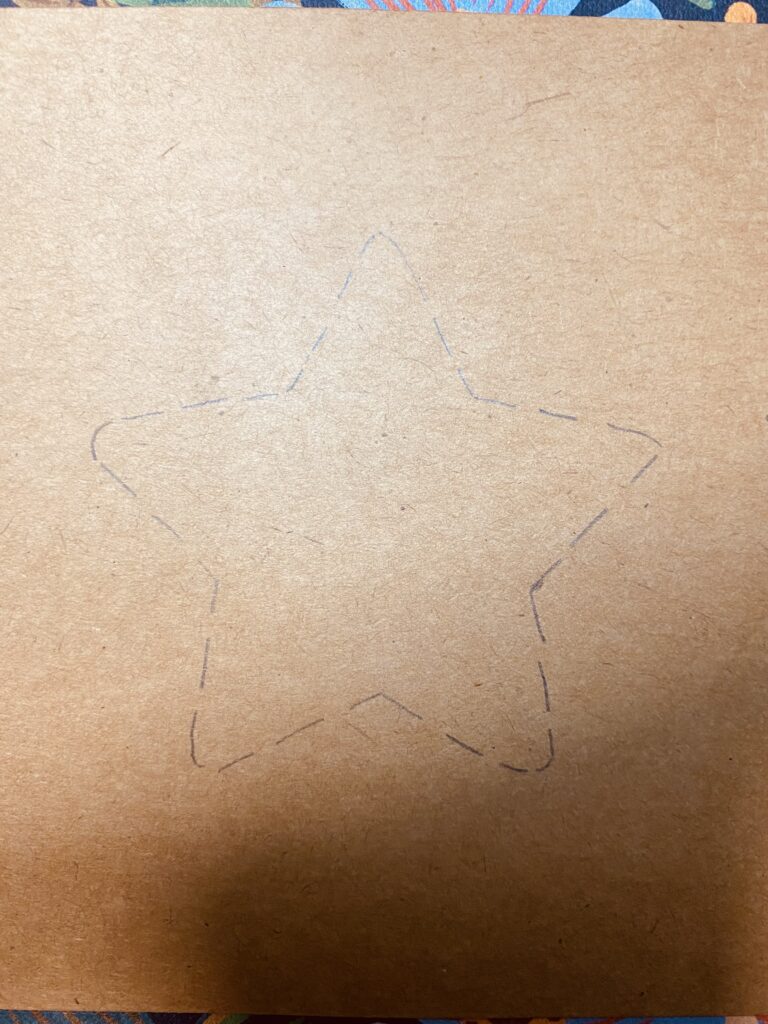
2) Traced it on the card

3) Punch holes with the needle all along the drawing to mark the border of the star

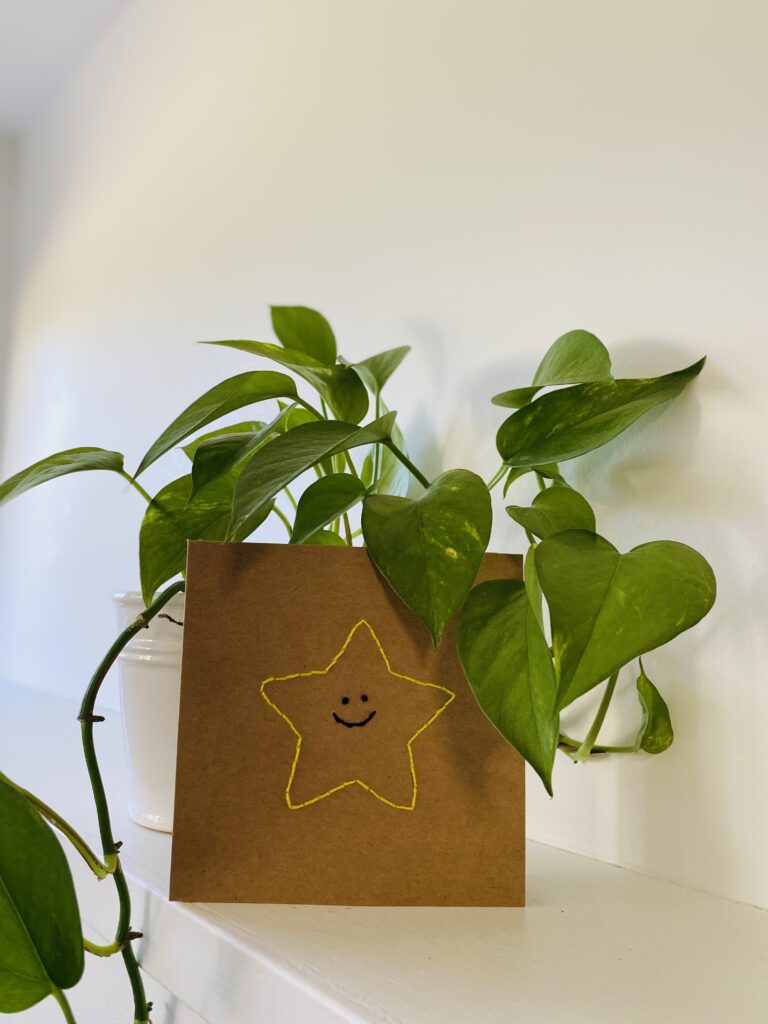
4) I embroidered the card using the backstitch

Final Product:

I like this project 🌟 I could even try it with my future students as a Valentine’s or Christmas craft.

Until next time,

R.

How to display your embroidery project?

This week, I will show you how to display your embroidery projects. For this post, I have gathered three ways to display your projects.

First, you can display them using an embroidery hoop. You just need to cut ou the excess fabric around the embroidery hoop. I like how it looks. Though, I am not sure about buying a different embroidery hoop for each project. Here is a video showing the process I mentioned:

The second option to display an embroidery project involves using a photo frame. I think it is easy to do and looks good. It could even be gifted as a birthday present. This video shows how to frame your embroidery piece :

Lastly, my favourite option. I like the idea to decorate your notebooks. I think it adds personality to your notebook and looks great.

For now, I will leave my projects in the embroidery hoop, or put them in a binder, but later, I would love to try decorating a notebook.

Until next time,

R.

Happy Valentine’s Day

While you read this post enjoy This Dream I Had by Pierce Murphy that I found here

As I was looking for inspiration for this week’s inquiry entry, I found a heart pattern that I loved:

As Valentine’s Day was coming, I thought this will be a great entry for this week. I looked up a tutorial on YouTube and I found this one:

Video by Afeei

I liked this video because is well explained, seemed easy to follow and I will be mostly using the satin stitch that I learnt last week.

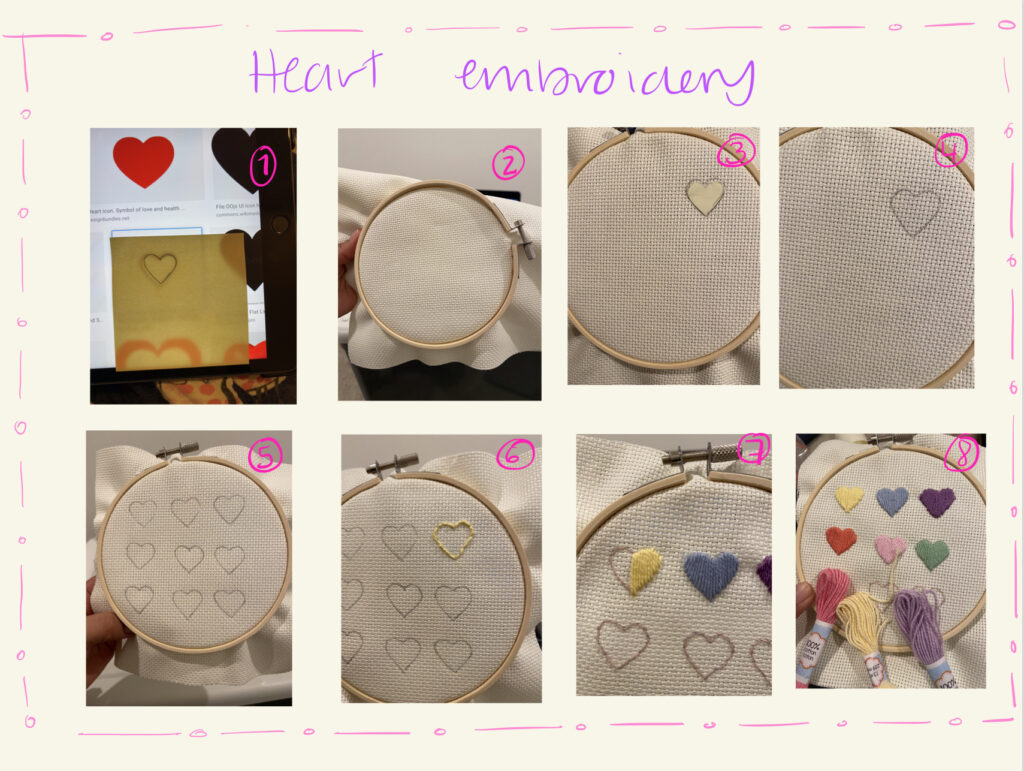
This was my process for this week projecthttps://reynabc.opened.ca/2022/02/09/embroidery-stitches-for-beginners-%f0%9f%aa%a1/:

Pictures by Reyna 🙂

Here is my final product:

Picture by Reyna

I liked how my project looks. I can see how the hearts got better as I kept practicing. Although the purple heart on the upper right is not even (it is the first heart I embroidered), I decided to leave it as it is as a reminder of my embroidery journey and that love does not have to be perfect 😉

The hardest part of this project: embroider the heart shape
Easiest part: placing the fabric in the embroidery hoop
Time to complete the project: 2h

Thanks for reading and happy valentine’s day 💗

R.

Embroidery stitches for beginners 🪡

My next step in my inquiry is to learn and practice some basic stitches. I am using this video for reference:

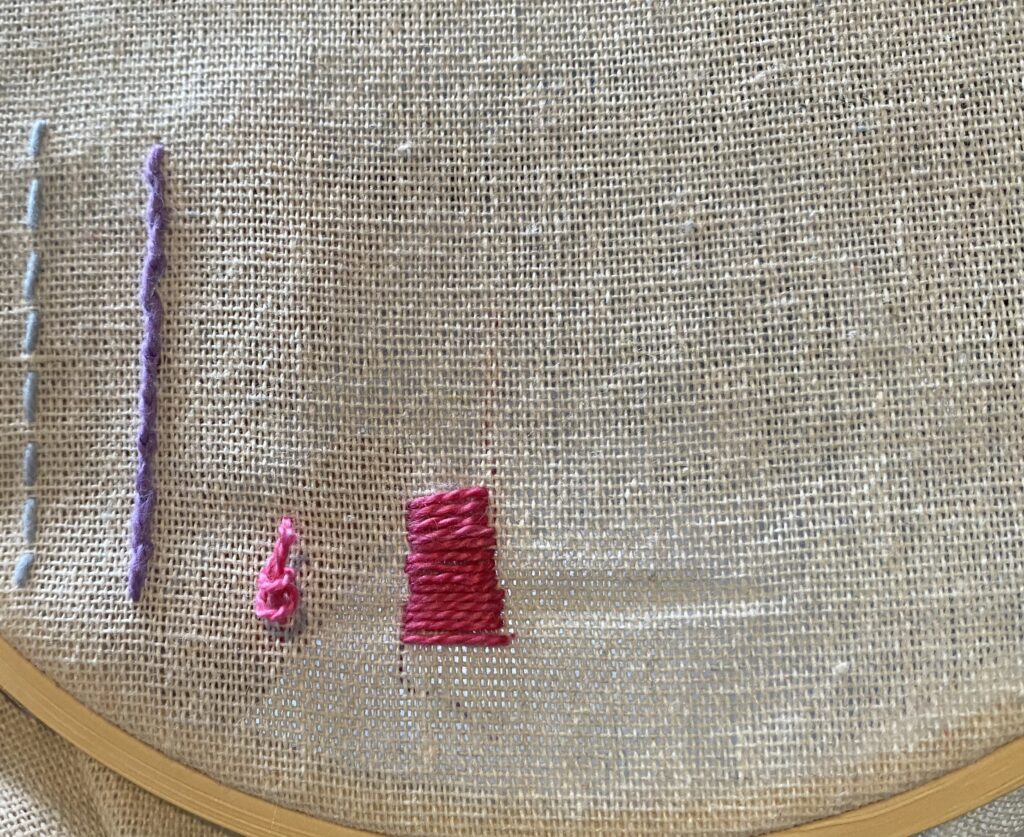
I started by placing the fabric between the embroidery hoop, that was easy! Everything was going well until I got to the Bullion Knot!

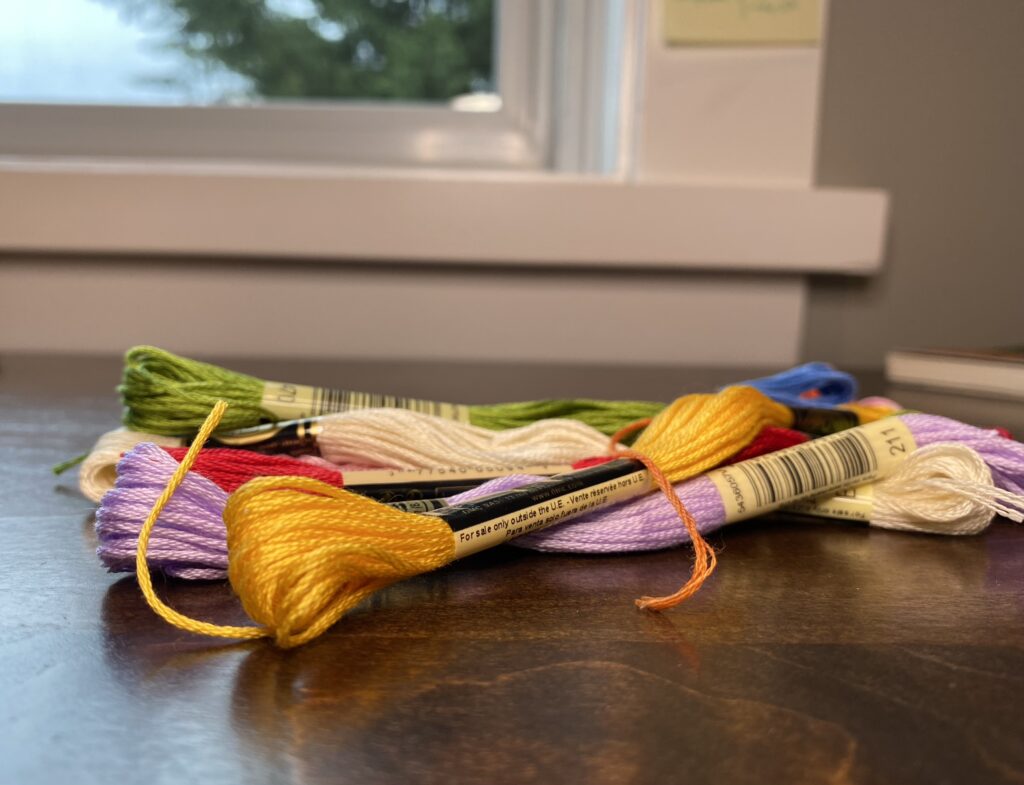
As I mentioned in my previous post, I am using embroidery floss from past projects. Well, that kind of floss was too thick for the bullion knot. So, I had to buy new embroidery floss. I was a bit disappointed because I had planned to work on my inquiry last Sunday afternoon, while I watched a movie, as Kasey suggested 😊, but because of this ‘problem,’ I had to pause everything. So, on Monday I went to get more embroidery floss.  I found some at Walmart for .72 cents each.

It was a good decision to buy more embroidery floss because the French knot stitch is also better made with the new embroidery floss I got.

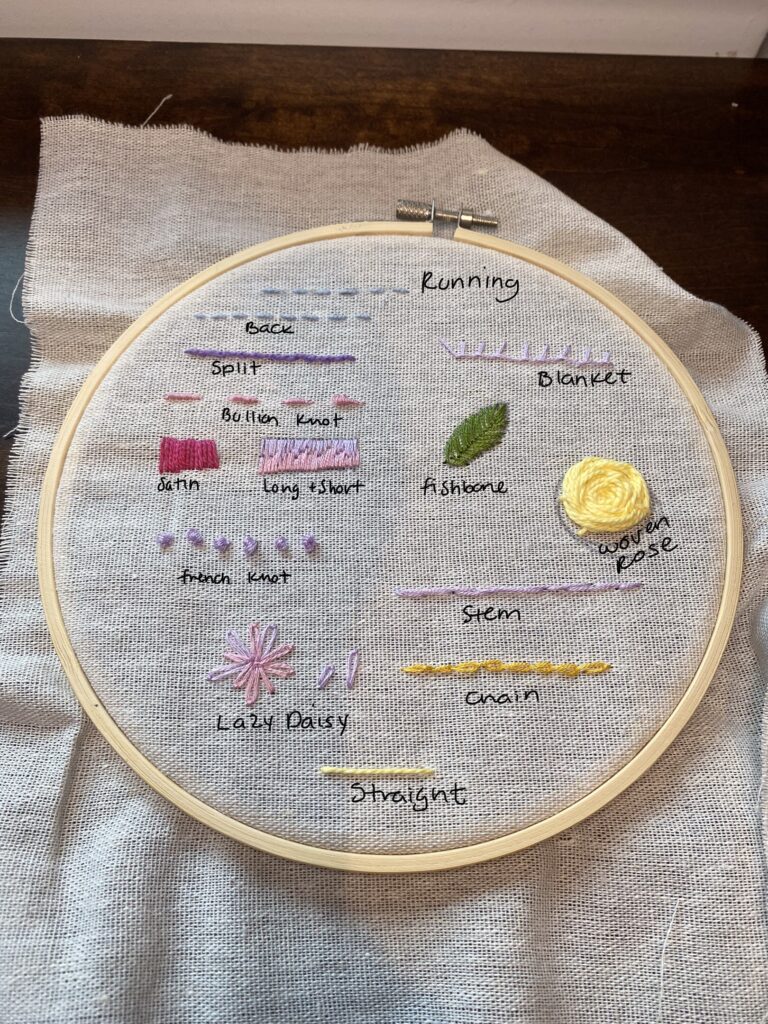
And here is my final work!

  • My Top 3 favorite stitches: french knot, fishbone, split.
  • Hardest embroidery stitch: bullion knot.
  • Easiest embroidery stitch: straight.
  • Total time to finish this project: 1.5 hours.

I am happy with my mini-project. Of course, I need more practice, but I think it’s looking good.

Until next time,

R.

Ready, set… and the materials?

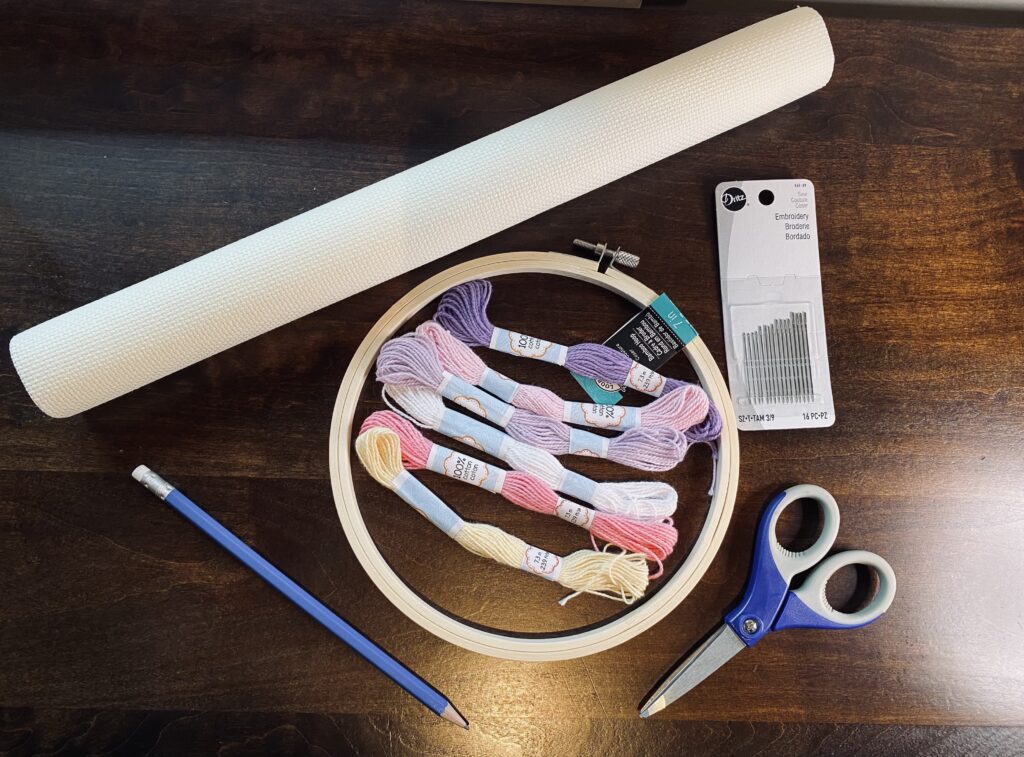
After deciding on my inquiry topic, it was time to gather the materials. My research lead me to the website Wandering Threads embroidery where the following materials were listed as essential:

-Embroidery floss
-Embroidery needles
-Embroidery hoops
-Fabric (Cotton, wool, linen, felt, or even denim)
-Scissors
-Pencils

I had embroidery floss from other crafts, but I still needed the rest of the materials. The places in Victoria where you can buy the materials that are close to my house are Michaels, Walmart, and Dollarama. You can also get the materials online, on amazon.

I tried to order my materials through Amazon, but for some reason, even using a prime account, the materials would arrive until February 24! So, I decided to go to the physical stores. I headed to Michaels. I have been there before, and I knew I would find everything I needed there! I enjoy going to Michaels, but I always end up buying more than I need. Surprisingly, this time I bought just what I needed for my project, but I still wandered for about an hour in the store. I guess embroidery has become popular because I could not find fabric at Michaels. So, I went to Walmart, and there, I found the fabric!

My embroidery materials photo by me 🙂

So far, I have spent :

Material Price
Embroidery Floss*0.00
Embroidery needles2.27
Embroidery hoops2.45
Fabric5.00
Scissors*0.00
Pencil*0.00
Total=$9.72
I have spent less than $10.00! (Note: I have the materials mark with *)

At Michaels, I realized they sell embroidery kits that included all that I needed even the pattern. I was tempted to buy one, but I decided that it is better to start my project from scratch. Later, I remembered that you can also order the materials online, so I made this video to show you the variety of embroidery materials they have at Michaels.

Thanks for reading,
R.

Free inquiry: Embroidery

Photo by Nasim Khesmiri on pexels

This semester, for our Technology and Innovation in Education course, we will work on a free inquiry project. When I knew about our project, I thought my inquiry should be related to crafts. I like crafts, I think crafts help me to connect to myself and to relax.

I have seen lovely embroidery projects on Pinterest, and my interest in learning how to embroider has grown. Then, I think our free inquiry project is a great opportunity to try something new.

If you have not heard about embroidery, according to Wikipedia, embroidery is the craft of decorating fabric or other materials using a needle to apply thread or yarn.

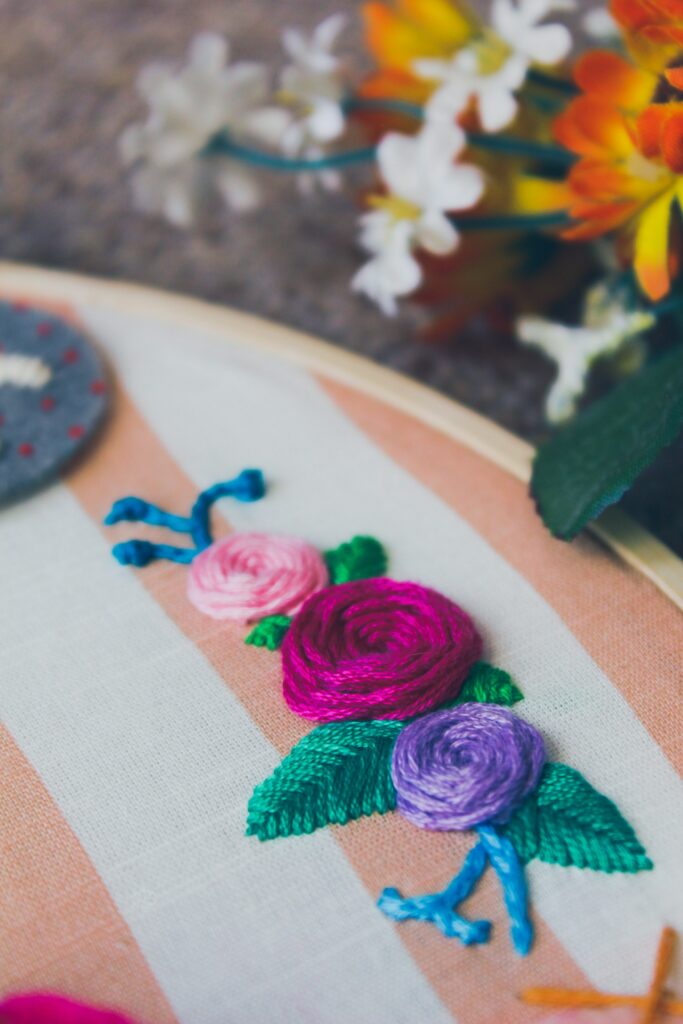
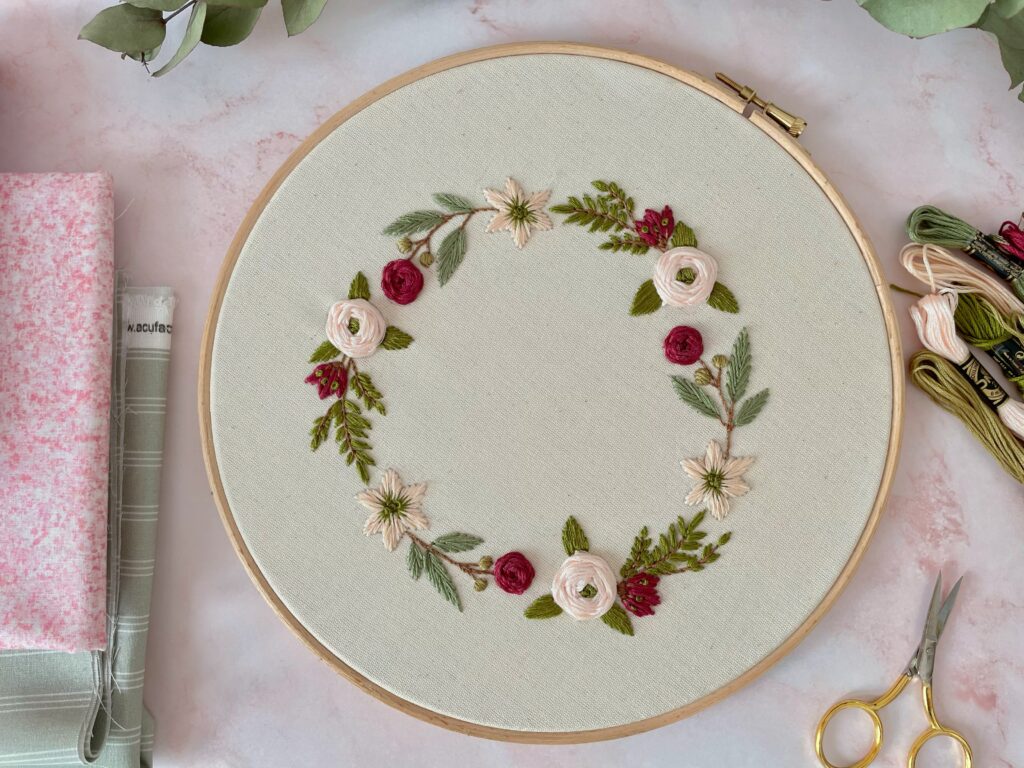
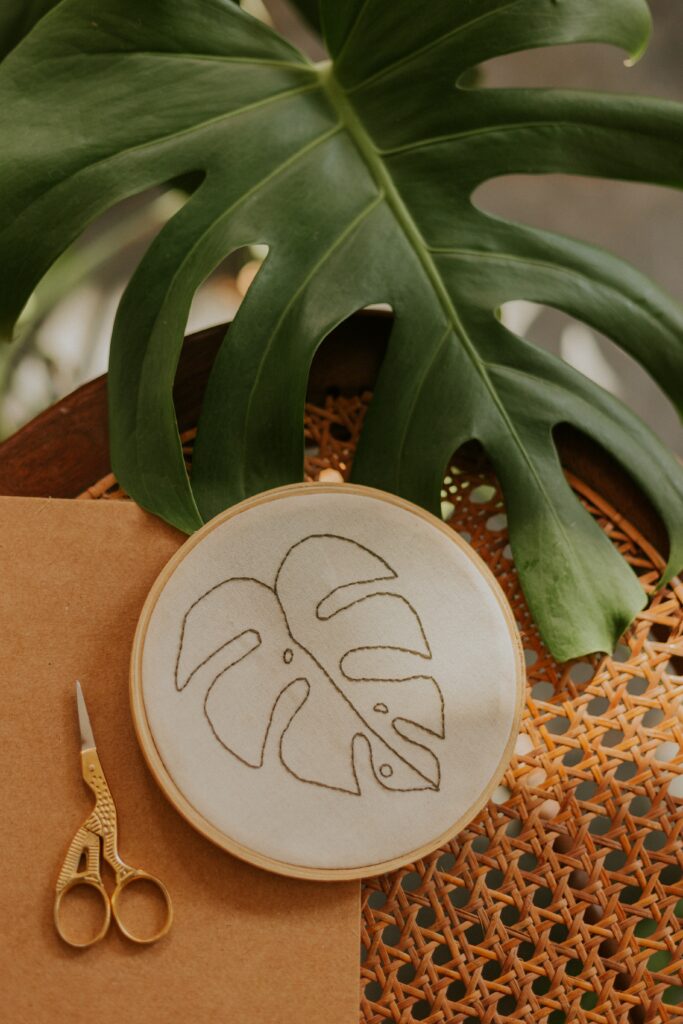
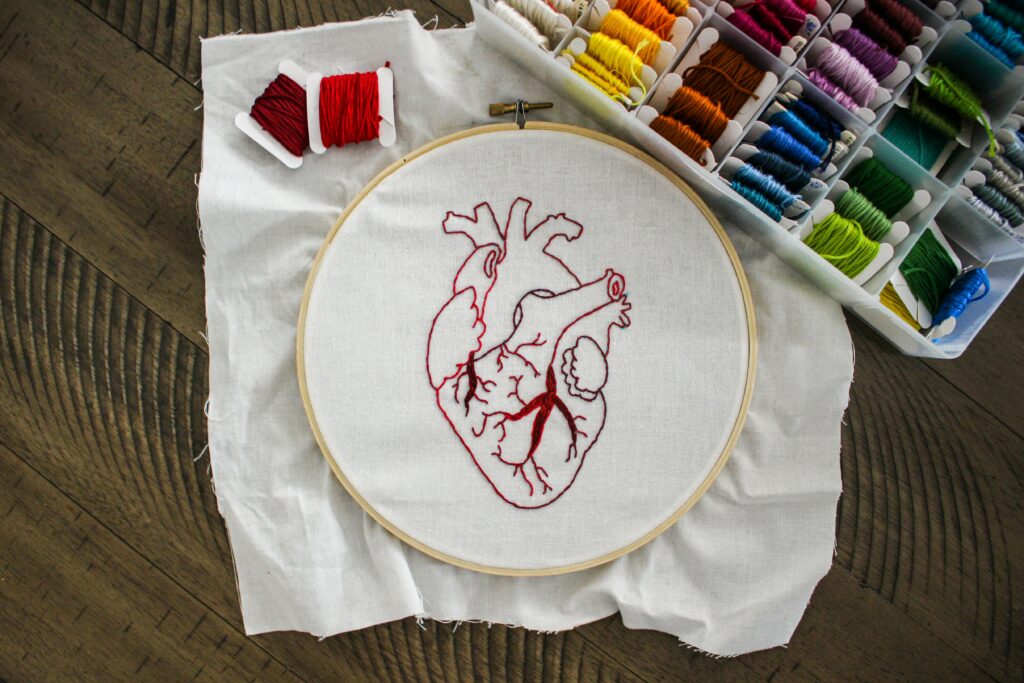
My goal is to finish a project like any of the ones above and document the process, but we will see where my journey takes me.

I have compiled a list of pros and cons:

Pros:

  • I like crafts
  • The materials are easy to find and budget-friendly
  • I will learn something new
  • It will be a time to connect with my inner artist😉

Cons:

  • I do not know anything about embroidery
  • My final project might turn out to be too ambitious
  • It can be time-consuming (embroidery+school+work)
  • If I run out of time, I might not enjoy the process

As you can see, there are important cons to consider, but if I set aside one hour or two per week, I think it will be manageable.

I am happy to share my embroidery journey with you. I wonder if you knew about embroidery? Have you ever tried? What do you think I should embroider as a final project, any suggestions?

P.S. Here is a video about embroidery:

Video by Artometry from youtube.com

Until next time,
R.

© 2025 Reyna's Portfolio

Theme by Anders NorenUp ↑