Reyna's Portfolio

šŸ™‚ Learn Teach Repeat šŸ™ƒ

Using digital resources for “impossible field trips”

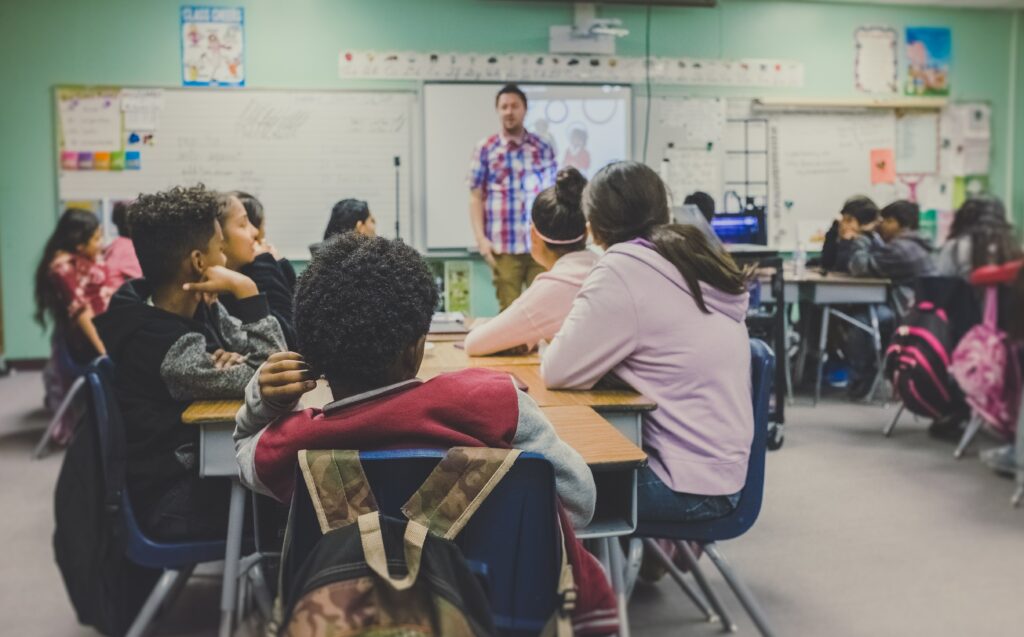
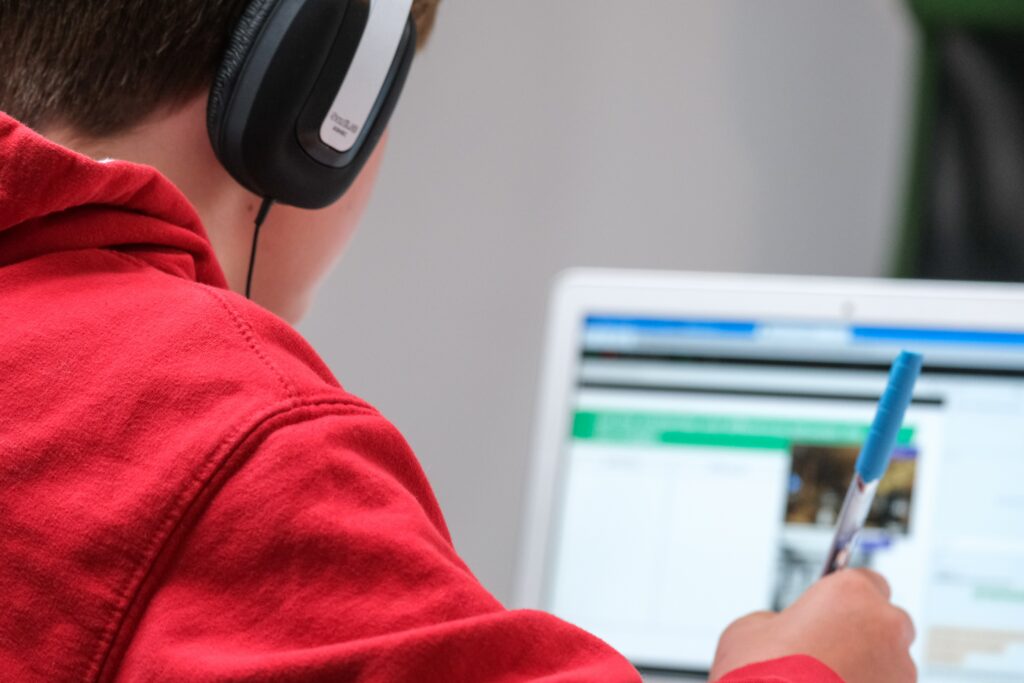
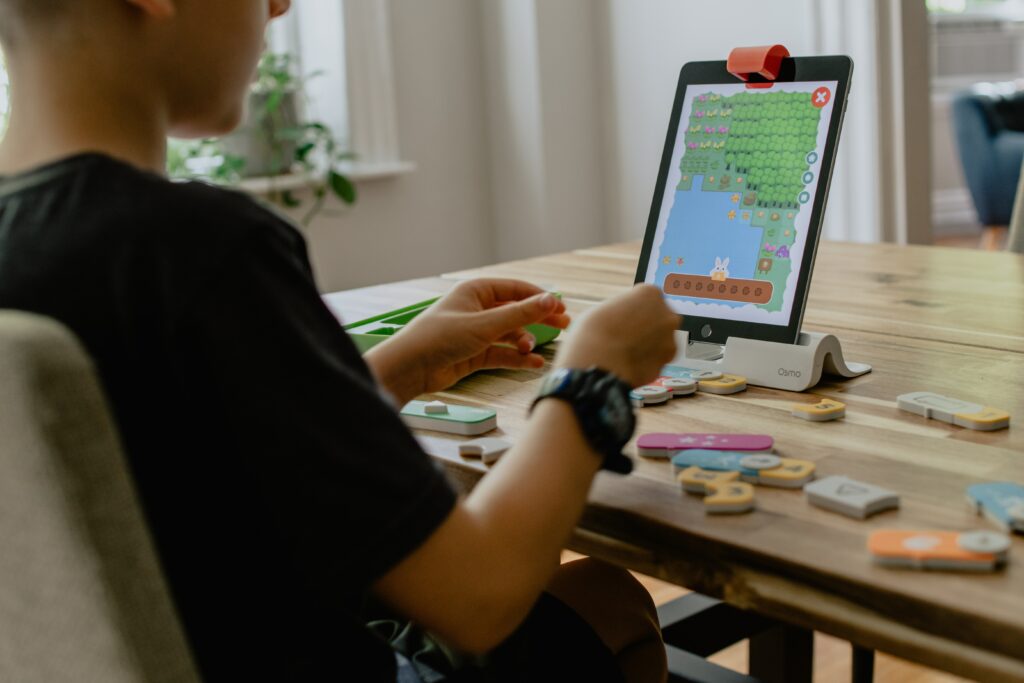
Technology has ever grown increasingly integral to our daily lives, and never more rapidly than over these past two years.  Technology has certainly increased its presence in education. While it cannot replace teachers, it can be a powerful tool that creates engagement and enhances learning. It is important to evaluate the best ways to integrate it in a way that will add value to your class.

Photo by stem.T4L on Unsplash

The BC education system emphasizes that deeper learning is better achieved by doing. It also highlights the need to create and facilitate opportunities to connect students with the real world. Therefore, educators should create more experiential lessons to support learning. It is important that students develop an awareness of cultures and social issues around the world, experience and learn from different habitats, and broaden their sense of place in relationship with the community, the environment, and the world.

As our Assignment 2 inquiry, we are tackling a part of these requirements by considering how digital tools can create impossible field trips. We explored virtual reality, 360-degree cameras, and live cameras to support different subjects in the school curriculum.

In this video, you can learn more about our EdTech Inquiry

Virtual reality (VR)

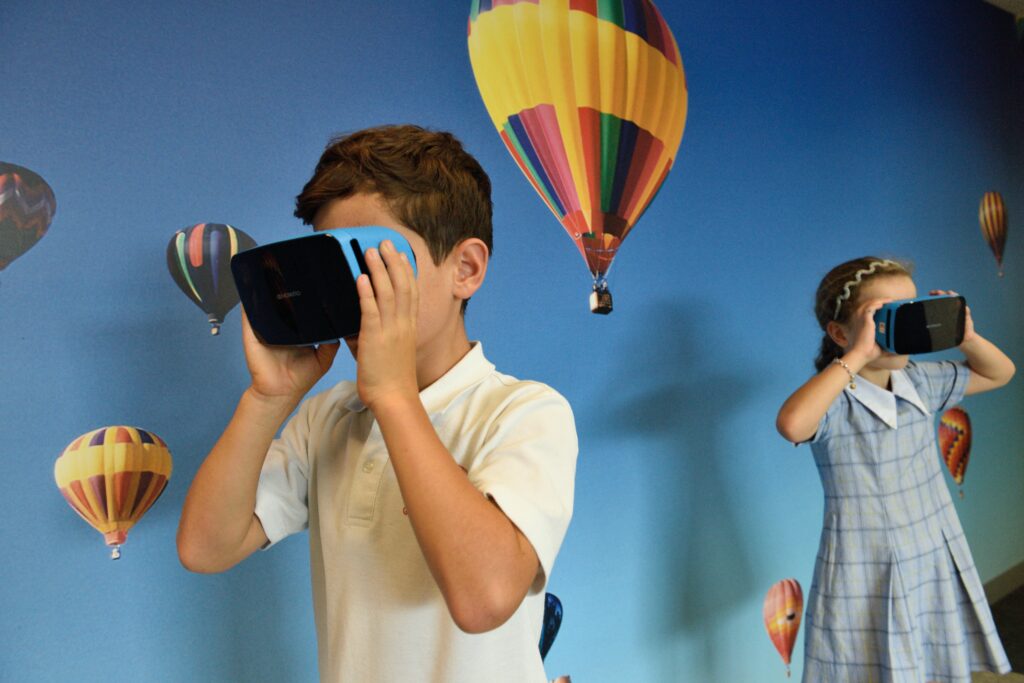
According to Britannica.com, VR is the use of computer modeling and simulation that enables a person to interact with an artificial three-dimensional visual or other sensory environments.  To experience virtual reality VR headsets are recommended, but VR headsets can be expensive and it might not be realistic to have even a few of them available in the classroom.

However, we have found alternatives: there is a cardboard version that can be bought online, or can even be made by students (see the Links section, below).  Additionally, many telepresence resources do not require a full VR set-up, but can be viewed from a screenā€“a large enough screen could allow a small group of students to work together on a shared task.

360Ā° videos

An alternative to VR is 360Ā° footage, taken with cameras that capture their full surroundings, in every direction.  This allows the viewing of pre-recorded real-world locales rather than computer-generated ones.  360Ā° environments benefit from a VR headset but can be viewed on a regular screen as well.  We have observed that SD 61, and SD 62 have Chromebooks available for students, which they could use to explore these videos. 

Free-roaming vs. the guided tour

The resources we have found for these technologies generally fall into two categories:  the free-roaming experience, and the guided tour.

In a free-roaming experience, the user may go anywhere within the presented environment, allowing students to investigate points of interest, wander where curiosity takes them, or purposefully position themselves in response to a task.

When on a guided tour, however, there is only one camera viewpointā€“it may be fixed or it may move, but ultimately the user is being led along on a predetermined tour.  This prevents them from peeking around an intriguing corner, but just as on a tour, they may rotate their viewpoint to look in any direction.

Live cameras 

In addition to free-roaming and guided-tour experiences, there are live cameras.  They typically are fixed in place and have a limited field of vision.  While more limited, they are a good option to observe distant places in real-time. Using live cameras, students can see what is happening in cities around the world or observe wildlife habitats.

Health & safety considerations 

Before and during the implementation of these technologies in the classroom, it is important to consider medical conditions such as light sensitivity or motion sickness. Also, while using VR technology or 360Ā° videos, teachers should be attentive to changes in students such as nausea, dizziness, sweating, paleness, and/or loss of balance.

It should be pointed out that VR headsets such as oculus are not intended for children under 13 years old, and children 13+ should still be supervised by adults.

Furthermore, we must consider the amount of time students spend in front of screens:  it is still important for students to enjoy local outdoor areas and connect with their communities, but when well implemented, with clear objectives, this technology can support and enhance the learning experience for our students.. 

How can we use these technologies in the classroom?

There are many subjects that can benefit from these digital resources, we have compiled a few ideas here: 

Mathematics: Students can use Google Earth to measure and calculate distance from one place to another, they could also practice map scales, cardinal points, and location.

Science: Students can visit zoos, observe the planets, experience space and underwater expeditions, observe animals in their natural habitat, and more.

Art: Students can visit different countries and identify the architecture, arts, and elements found in each city. Students can access museums, opera concerts, temples, chapels, etc.

Social studies: Students can learn about and experience other localesā€™ historical places, monuments, geography, flags, weather, and landscapes.

Virtual reality in the classroom (article

Links

The following resources are mostly free, easy to access, and can add engagement to your lessons:

VR headsets

VR headsets can be expensive, so we have found some alternatives:

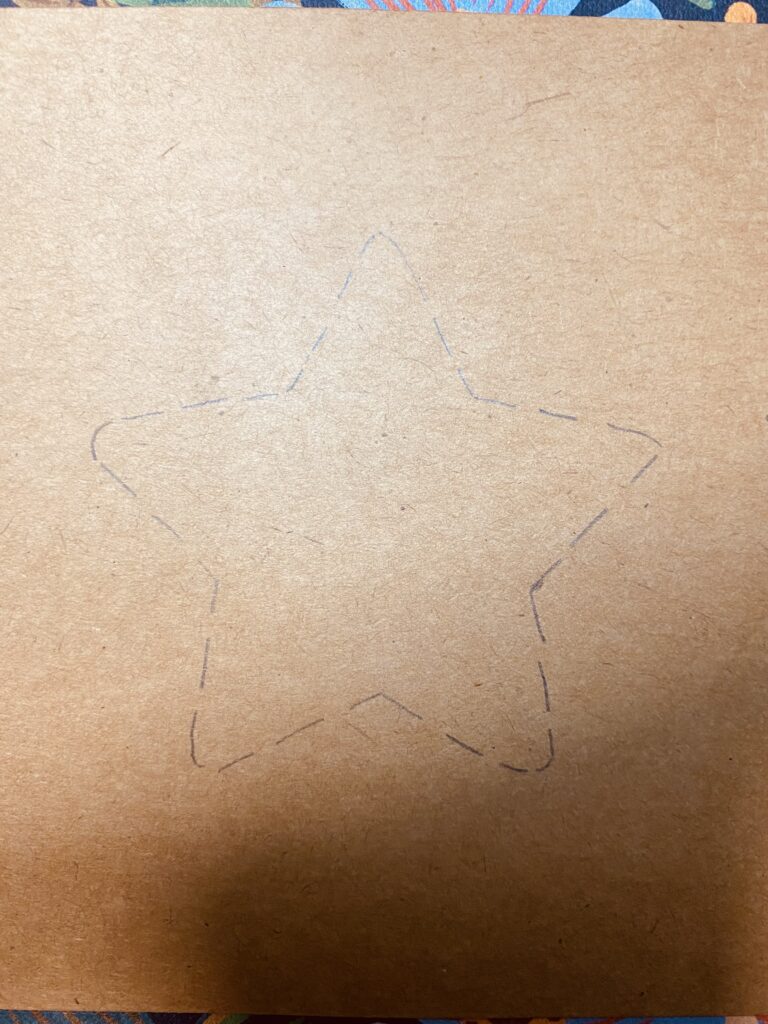
Virtual Reality Headset DIY you can do this DIY project with your class, and explore math, science, and art.

Google VR cardboard for sale ($11.95 CAD available for iPhone as well as Android)

Free-roaming experiences

Uvic VR Room

Google Maps:  Street View can let students explore anywhere Googleā€™s vans have been 

For older students; Geoguessr drops them into a Street View somewhere in the world and challenges them to find where they are on the world map. NOTEā€“an account may be required

Google Arts & Culture Expeditions have many virtual field trips available; the Google Arts & Culture mobile app offers access to those tours

75 virtual museum tours

Walk the Great Wall of China 

Access Marsā€“following the path of the Curiosity Rover

Assassinā€™s Creed Discovery Toursā€“extensively researched computer simulations of Ancient Egypt, Ancient Greece, and the Age of the Vikings, with historical information; the school-inappropriate content of the games has been excised. NOTEā€“these products are not free, and are only available for Windows OS 

A consideration of its use in the classroom, by the CBC can be read here

Guided tours

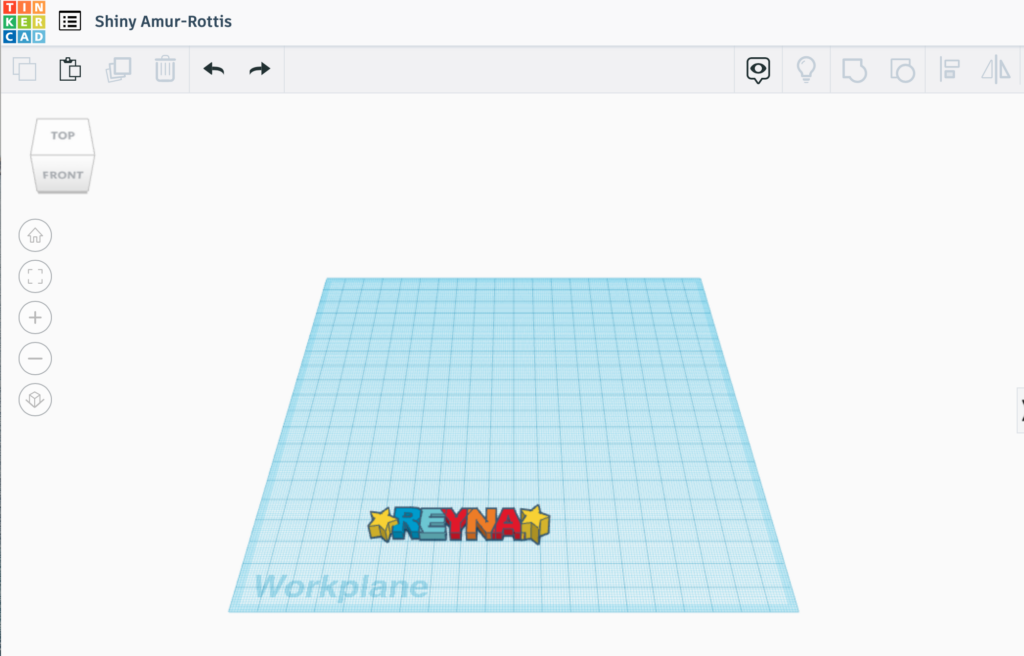
Create your own virtual tour

Astronomy- Explore exoplanets in 4K and The Solar System

International space station videos

Google Arts and Cultureā€™s 360Ā° videos

360Ā° educational videos by National Geographic

This is one of many free 360Ā° videos from National Geographic

USA National parks

Panda cam  – watch pandas 24/7 šŸ¼ or watch penguins šŸ§ at the Kansas City zoo 

Fun to watch, especially for young students

Live Sea Otter Cam – Monterey Bay Aquarium

Time Square live camera

Sidney, Australia 

Underwater live camera (West Palm Beach, Florida)

Parks Canada, Wildlife webcams, and remote cameras

Animals live cameras 

More links to Live cameras here

Additional resources:

ā€œThe 22 Ultimate Virtual Field Trips & Tours for Studentsā€

Virtual Field Trips:  Ideas & Examples 

Nearpod VR offers many lessons with a VR/telepresence component. NOTEā€“may require an account (filter by subject in the left column)

Thanks for reading. We hope you find these resources helpful.

Weekly Reflection

This week we had a guest speaker, Joanna Lake. She is a local middle school teacher. I liked her presentation. It was nice to see some of her studentsā€™ work and how technology is used in a real classroom. Joanna is an inspiring teacher. She seems to me like that kind of teacher that you see on social media. The one that always has nice projects and engaging lessons for the students. I liked the mood scales she uses from Tara Wood.

Joanna showed us videos from her studentsā€™ work which were so funny. So far, I have been intimidated to teach middle school, but her videos made me think that maybe it is fun to teach middle school.

Photo by NeONBRAND on Unsplash

I had not heard of flip-grid before, but it seems like a friendly user platform and it seems that students enjoy using it, so I have saved it to use in the future. Joanna made seem easy to introduce technology in the classroom, but I guess, she spent time planning, learning, and implementing these platforms before introducing them into her classroom, once she did it, it seems to me that all her hard work was worth it.

Additionally, she talked about the importance to get to know your students, create connections, visual schedules, and routines. By doing these, teachers create a healthy learning environment.

The only downsides I could think of are not having enough equipment for all the students and/or having to pay a monthly subscription for the apps or websites needed to host your class material. And of course, privacy and security issues while using some platforms.

Photo by Robo Wunderkind on Unsplash

In the second part of the class, we learnt about how to create science journals such as fresh grade and Arduino science journal. It is great to know these platforms, especially Arduino which to me was interesting for all features it provides which certainly can improve and create engaging science lessons.

Incorporating science journals in the classroom creates opportunities for hands-on learning and exploration. Technology in the classroom can help transfer concepts into real and tangible scenarios.

Inspired by Joanna and using one of Taraā€™s mood scales, how are you feeling today?

I think I’m feeling like picture 4

Week 10-Final Reflection

I have enjoyed learning and documenting how to embroider using the tools and resources learnt in class. However, I wish I had had more time to pursue more ambitious projects. In the future, I would like to learn stitches for lettering.

I liked all my projects, but my favourites are the hearts I did for Valentineā€™s Day and the embroidery card. My least favourite, the socks. I think the flowers do not show that well, and the petals are not proportional.

In some way, my inquiry was a representation of online learning. I learnt everything via YouTube. I was surprised by the number of embroidery tutorials available online, which makes embroidery accessible to everyone. The YouTube catalog is immense and you can learn anything using it.

This an example of one of many embroidey tutorials

Another aspect I liked about my inquiry is that it was not expensive.Ā  The material I bought at the beginning of my inquiry lasted till week 10; I still have material to keep practicing. I also liked that the projects did not take more than 2 hours per week, which was great because I had more assignments to complete.

How will I use embroidery in the future? I think I would like to make Christmas cards, and I would like to try making a notebook cover. As I mentioned before, I would like to learn how to embroider letters, or quotes. As my project progressed, I realize that in the future I could use some of these mini projects in my classroom (Christmasā€™s or Motherā€™s Day crafts) or, as Kasey mentioned once, I could also use this for home economics lessons.

I imagine that using a blog to document an inquiry could be appealing for students, especially to those in intermediate grades. I think they would like to take pictures, organize, and personalized their blogs to express their ideas and personalities. The blog also helps teachers assessng and collecting evidence. A blog is useful for students to keep track of their educational/personal growth during the length of the course.Ā 

Overall, this inquiry has inspired me to learn new things and to be persistent, even though, things look overwhelming at the beggining. You only need practice, patience, and dedication. Additionally, I have reflected on the accessibility that technology creates in our life, and what an excellent educational tool can be if used wisely.

Thank you for being part of my inquiry,

R.

Weekly Reflection

This week, we learnt about the flipped classroom model and we had a 3-D workshop.

I was not familiar with the flipped classroom model, but I found it interesting. If you are not familiar with this method, It is well explained in this video:

If you ask me, what are the benefits of the flipped classroom model? From a student perspective, I think is good to be able to re-watch a lesson until you understand the concept. Additionally, it is a good way for students to learn to self-regulate and self-learning which builds independence, but it might not work for all the students. For some students, it might be overwhelming.

From a teacher’s perspective, I think it is a good delivery method, but it involves a lot of preparation and planning. Also, we should consider that we might need a safe streaming platform, training, and/or equipment.

We should also consider accessibility issues, whether it is wifi access or access to pcā€™s/iPad. It was discussed in our groups that it might add work to parents (it might be seen as homework). In addition, students might have not a healthy learning environment at home.

Photo by Compare Fibre on Unsplash

In my opinion, the flipped classroom method is valuable for students learning, but I think it is not suitable for all subjects. For example, EPHE involves physical activity most of the time. Although, with the pandemic, we have learnt that everything is adaptable. I am a visual person, so I think that in my practice I would like to introduce some aspects of this methodology.

Photo by ZMorph All-in-One 3D Printers on Unsplash

One the second part of the class, we did a 3-D workshop. I enjoyed it, but I did not know how hard it was to 3-D print. Before this class, I thought that you basically uploaded a picture and then print it! But there is design and measurement involved! It was fun, but it was a bit tricky for me to complete this project.
I followed the keychain tutorial and here is my 3-D project:

I canā€™t wait to see how it looks once printed. Iā€™m afraid it will be too big, but weā€™ll see. Iā€™ll keep you posted!

Until next time,
R.

I embroidered my sweatshirt!

In todayā€™s post, I will show you how I embroidered my sweatshirt. Since I bought this sweatshirt (about a year ago), I wanted it to be a DIY project. My idea was to add fun patches, but of course, it never happened. So today, I will make a mini DIY project.

I did not follow any tutorial because I am just making a smiley face. The process was straightforward. I used the embroidery hoop to secure the area I would work on, then I traced the smiley face, and I embroidered it using black embroidery floss.

It took me only 15 mins!!! I like how it looks and I have looked for more inspiration. I love this one :

I hope to learn how to embroider letters and keep adding to my sweatshirt. I had enjoyed this project, and I am looking forward to wearing my ā€˜newā€™ sweatshirt.

I embroidered my socks

This week, I decided not to follow a tutorial, but to try something that I have seen before. I have decided to embroider something on a pair of socks. My idea was to embroider a heart on white socks, but I couldnā€™t find plain white crew socks. So, I will use these socks that I found at the dollar store:

As I mentioned, my idea was to embroider a heart, but then I remembered spring is coming. Therefore, I decided to practice the lazy daisy stitch from my first post. The lazy stitch is quite simple to make, I was impressed that it took me 20 mins to finish this project.

I think they donā€™t look bad, but I still need more practice. As I was writing this post, I checked on Etsy for handmade embroidery socks. I found that they cost $17, of course, they have a prettier design but 17$! wow! Maybe this project will be the beginning of my business… Just kidding šŸ˜œ

P.S. I hope you are enjoying the cherry blossoms around town šŸŒø

Week 8

This week, we learnt about coding. As I mentioned before, last semester, I experienced how SD62 students are familiar with Scratch. This week we learnt that SD61 uses scratch too. Before telling you about this week, what is coding? well, in simple terms, coding is giving detailed instructions to a program to perform a specific task. Here is a video that explain to kids what is coding :

Using code.org, we practiced coding by helping Elsa (From the movie frozen) trace a snowflake. I thought it would be an easy activity, but in fact, it was a bit challenging. It was a trial-error process, but here is my work till step 6:

Not bad, but it needs to be centeredā€¦

Wondering about why to teach coding? I found an article mentioning the benefits of coding. According to the article, through coding, students learn problem-solving, develop critical thinking and mathematical skills, and resilience under unexpected circumstances.

Photo by stem.T4L on Unsplash

I really like to keep learning and practicing coding. As seen in class It is important to incorporate it in the classroom, but we have to be careful while implementing it because it might be frustrating for some students. Therefore, I think it is important to start with small and simple tasks.


By the way, this was my first time coding(that I remembered)? have you tried coding before?

Until next time,

R.

Week 7

In today’s class, we learnt about Assistive technology. Tracy Humphreys from BCEd Access was our guest speaker. She talked about accessibility and inclusion in our classroom, as well as resources for teachers and parents.

I found this conversation helpful and I am looking forward to learning about tools or apps that we can integrate into the classroom, that can serve students, parents, and teachers.

In the second part of our class, we learnt about how to add subtitles and make our posts accessible to everyone.

Here is the example I did on youtube and an image we used to practice how to add a description to our images.

This video is from a previous science presentation
Two person standing on grey floor looking at the quote "Passion led us here" written on the floor. The quote represents how we decide on becoming educators
Photo by Ian Schneider on Unsplash

I like how schools are integrating technology as a tool for students to learn. I also like that minority groups have been included and taken into account to promote and ensure learning.

Embroidered Cards

Inspired by last weekā€™s post and trying to use embroidery in a more purposeful way, I found the idea of making these embroidered cards.

As I had some old cards from previous crafts, I decided to give it a try. The project took me approximately 1 hour. Here are the instructions I followed:

1) I chose the design ā­ļø

2) Traced it on the card

3) Punch holes with the needle all along the drawing to mark the border of the star

4) I embroidered the card using the backstitch

Final Product:

I like this project šŸŒŸ I could even try it with my future students as a Valentine’s or Christmas craft.

Until next time,

R.

Week 6 Reflection

This week, we had an EdCamp during our class time. This was my first time doing that, if you are not familiar with EdCamps, here is a video explaining how an EdCamp works:

I liked this concept because it is a more relaxed atmosphere than going to a conference, which feels to me more formal and the opportunities to equally participate are low. In my opinion, EdCamps are a great opportunity to learn and connect with more educators.

During our EdCamp, my favourite group to visit was the one that explained coding using scratch

Last semester, during my link2pratice, I learn about Scratch and how students loved to code. Back then, I thought it was important to learn this platform because it is used in SD62, but also because I would like to be more helpful when students ask me about it. I liked to learn about it during our EdCamp. It is friendly to use, you just need to play a bit with the commands. Since you can create math games, It can become a great tool for teachers and students.

Photo byĀ Kelly SikkemaĀ onĀ Unsplash

Another group that I visited was communication with parents. I like this group because communication teacher-parent is essential for studentsā€™ success. Therefore, it is important to talk about it and learn how to set boundaries and what issues/topics are worth communicating. I love the ideas they had gathered when I joined them, I snapped a picture of it:

I think this was a great opportunity to connect with the other cohort and learn from them and my classmates.

I was happy to see a lot of people passionate about education gathered in one place. I also like that we share the same wonderings, and it is nice to know that we have a great network of amazing future educators.

I am looking forward to our next EdCamp.

Until next time,

R.

« Older posts

© 2024 Reyna's Portfolio

Theme by Anders NorenUp ↑